Missmani Professional Nail Scissors
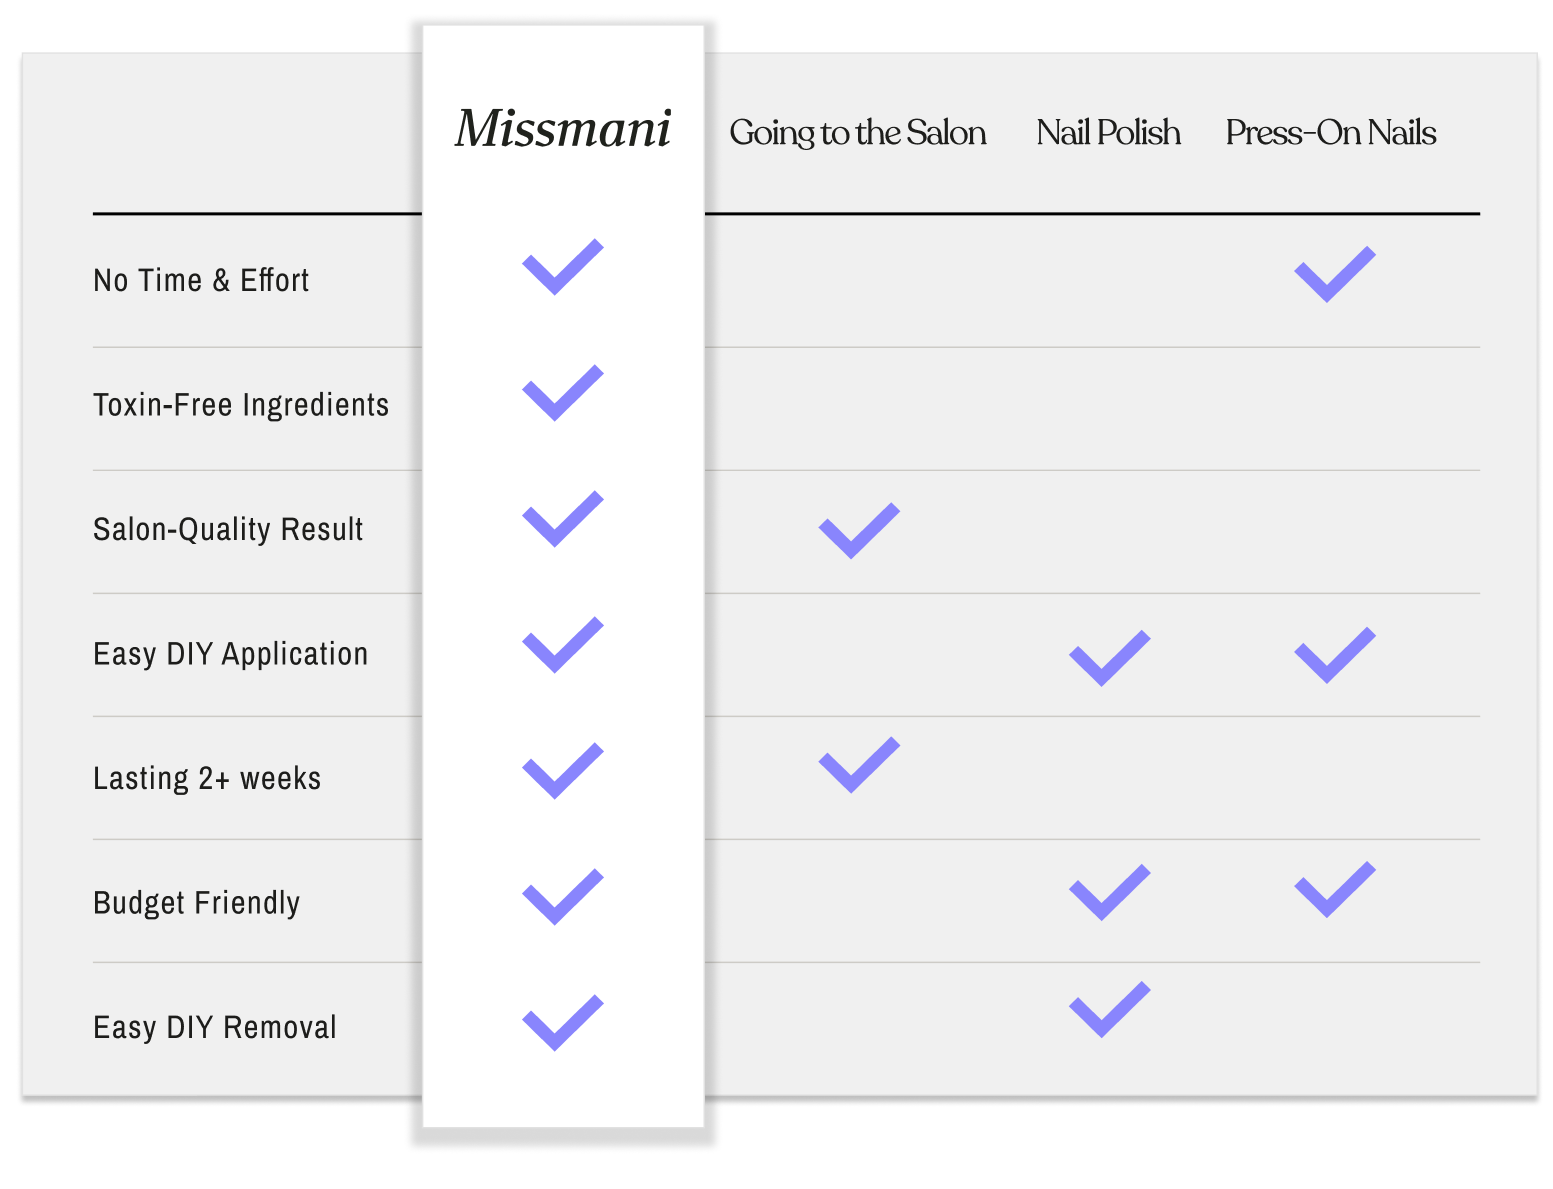
DAMAGE-FREE
LONG LASTING
APPLY IN <15min
EASY TO USE
Free FAST Shipping on Orders $48+
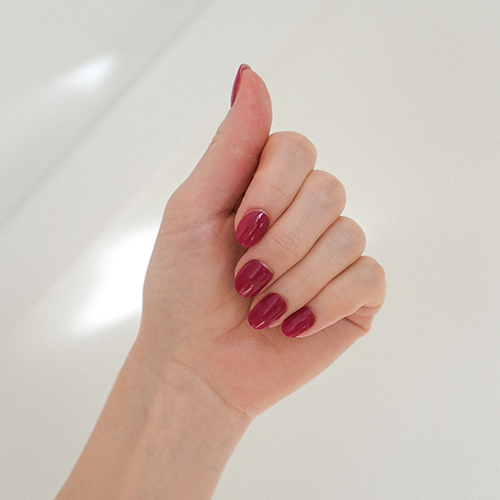
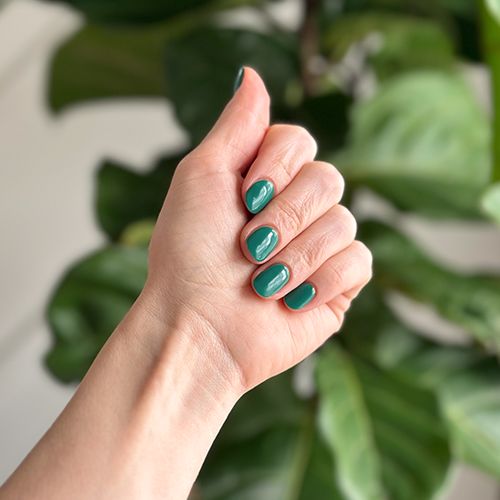
Missmani Nails presents high-precision Professional Nail Scissors, specially designed for effortless trimming and shaping of nail strips. Crafted from the highest quality stainless steel, these scissors ensure a clean, smooth, and precise cut, making them the perfect tool for achieving flawless manicures.
Designed with ergonomic, comfortable-to-hold handles, they provide superior control and ease of use, allowing for seamless customization of nail strips. Whether you’re a nail enthusiast or a professional, these scissors deliver the precision, durability, and comfort needed for salon-quality results at home.
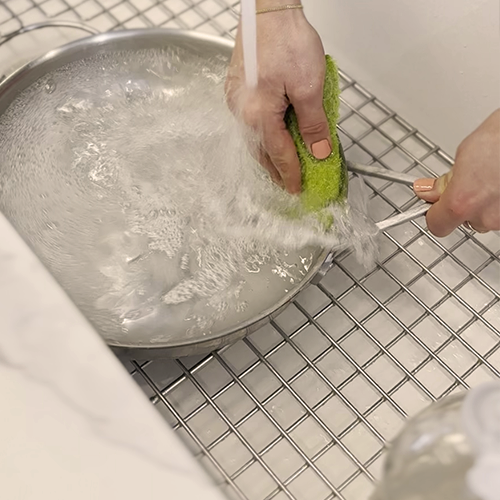
1. Prep Nails
- Wash hands, avoid moisturizers.
- Wipe nails with alcohol pad.
2. Push Back Cuticles
- Use wooden tool to push back.
- Trim excess cuticles.
3. Apply Strips
- Choose right size, press firmly from center out.
- Avoid sunlight during application.
4. Cure & Finish
- Cure under UV lamp (60 sec/finger).
- File edges gently, trim excess.
Pro Tip: For extra shine, add a clear UV top coat! Watch Application Video

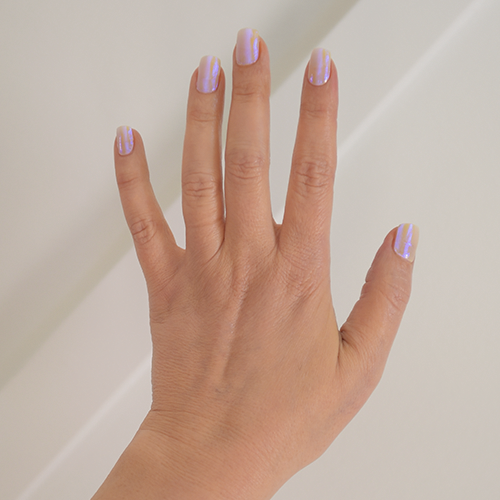
DAMAGE-FREE REMOVAL
Easy removal with no damage and toxins

CURED IN 2x60 SECONDS
Fast and effective

SAVE TIME & MONEY
No more hours wasted in the salon
FAQ
Orders ship within 24-48 hours (excluding weekends). Due to the nature of semi-cured gel strips, we do not accept returns for hygiene reasons. If your order arrives damaged or defective, contact us at support@missmaninails.com within 7 days of delivery with photos for a replacement or refund.
Prep:
1. Clean nails with alcohol prep pads (included) to remove oils.
2. Push back cuticles gently with the wooden tool.
3. Buff nails lightly for better adhesion.
Application:
1. Select the right strip size—smaller is better (can stretch slightly).
2. Peel off backing and press onto the nail, smoothing from the center outward.
3. Trim excess with scissors, then fold under the nail edge.
4. Cure under UV lamp for 60 seconds (per hand).
Pro Tip: Avoid sunlight during application. UV exposure hardens strips prematurely!
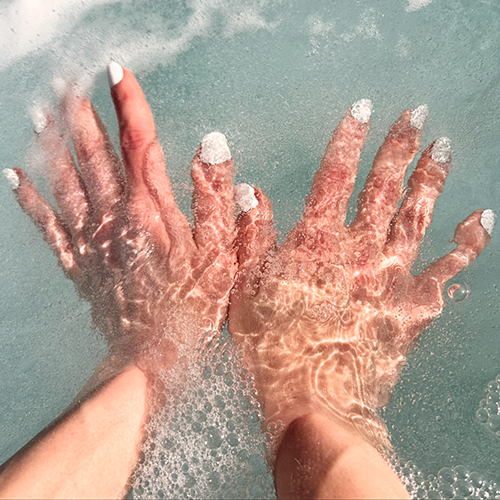
- Soak nails in warm, soapy water for 5-10 minutes to loosen. Or apply cuticle oil around the nails edges.
- Gently lift edges with the cuticle tool.
- Slide off strips—never force them to prevent nail damage.
- Moisturize hands after removal.
Each set contains 20 strips to fit most nail beds. File edges if needed for a custom fit.
- Prep is key: Oil-free nails ensure maximum adhesion.
- Seal the edges: Cure thoroughly and apply top coat.
- Push back cuticles: Ensure there is no wide gaps
Warning: Do not apply on recently moisturized hands, since this will reduce the adhesion of its initial application.